Running aeneas using VirtualBox and Vagrant
RSS • Permalink • Created 14 Jun 2015 • Written by Alberto Pettarin
This tutorial helps you setting up a Vagrant box
on VirtualBox
so that you can easily run aeneas
without the hassle of installing its dependencies,
especially if you are using Windows or Mac OS X.
The Idea
After publishing the source code of aeneas,
I started getting emails from people
who wanted to test this tool,
but who were unable to do so,
mainly because they could not install its dependencies correctly.
So, I started thinking about creating a VirtualBox image and sharing it for others to use.
If you are not familiar with it, VirtualBox is a virtualization manager, that is, a program that lets you run a guest operating system (OS) inside the operating system of your (host) machine. For example, you can have a Linux virtual machine running inside your Windows machine in user space.
In practice, the guest OS is “installed” to one or more files acting as virtual hard drives, while VirtualBox simulates the hardware for the virtual machine (VM), letting the guest OS believe it is running on a physical machine.
I thought about creating a Debian image,
installing aeneas code and all its dependencies,
and sharing it for other people to use.
This approach has a big problem:
the size (roughly 3 GB) of the VirtualBox image.
Fortunately, while searching for a solution, I discovered Vagrant. By using Vagrant, I no longer need to share the entire VirtualBox image, but I can simply give you the “instructions” to create the VirtualBox image.
In the case of aeneas-vagrant, these instructions are contained in two files:
Vagrantfile: the instructions to create the VirtualBox virtual machinesetup.sh: a Bash script that gets executed the first time the VM is created, installing the dependencies and the source code ofaeneas
Beyond allowing me to share only 2 kB of code instead of 3 GB of data,
this approach has another advantage: the setup.py script
will clone the source code of aeneas from its GitHub repo,
ensuring the end user will always get the latest version.
There are two main disadvantages:
- the installation procedure takes a while (10-30 minutes, depending on your network bandwidth) and it downloads roughly 1 GB from the Internet (and requiring 3.5 GB of space on your hard disk);
aeneaswill run inside the emulated VirtualBox VM, possibly slower than a native installation.
The Vagrant box approach is great for testing
or if you do not have experience setting up a Linux (Debian) machine;
however, if you plan to run aeneas in production and on a massive scale,
please consider a native installation instead.
Installation
Step 1: install VirtualBox and Vagrant
First, you need to install on your machine:
Just download the corresponding installers, double click on the file icon, and follow the on screen directions.
Step 2: get the Vagrant files from aeneas-vagrant
Then, you need to get the Vagrantfile and setup.sh from
the GitHub repo.
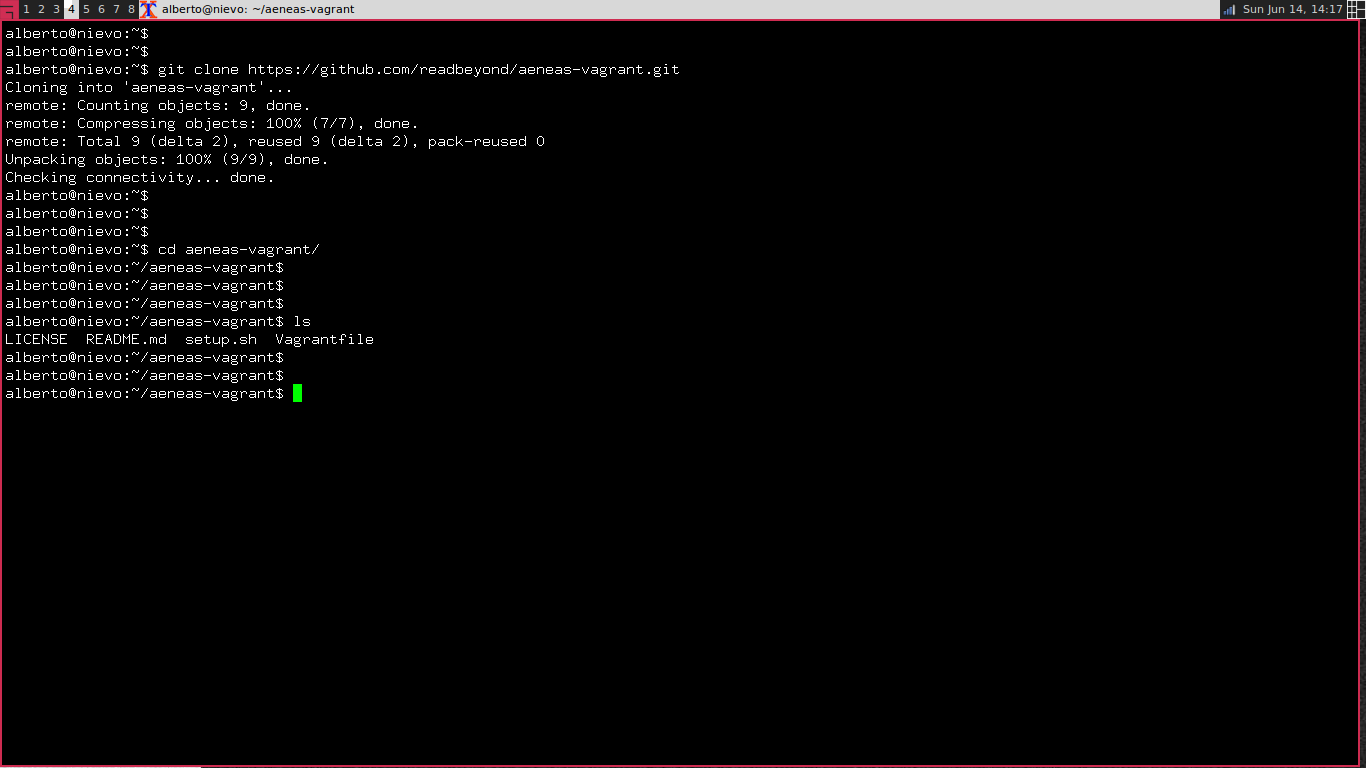
If you are familiar with the command line you can simply git clone the repo:
user@host:~$ git clone https://github.com/readbeyond/aeneas-vagrant.gitas shown in this screenshot:
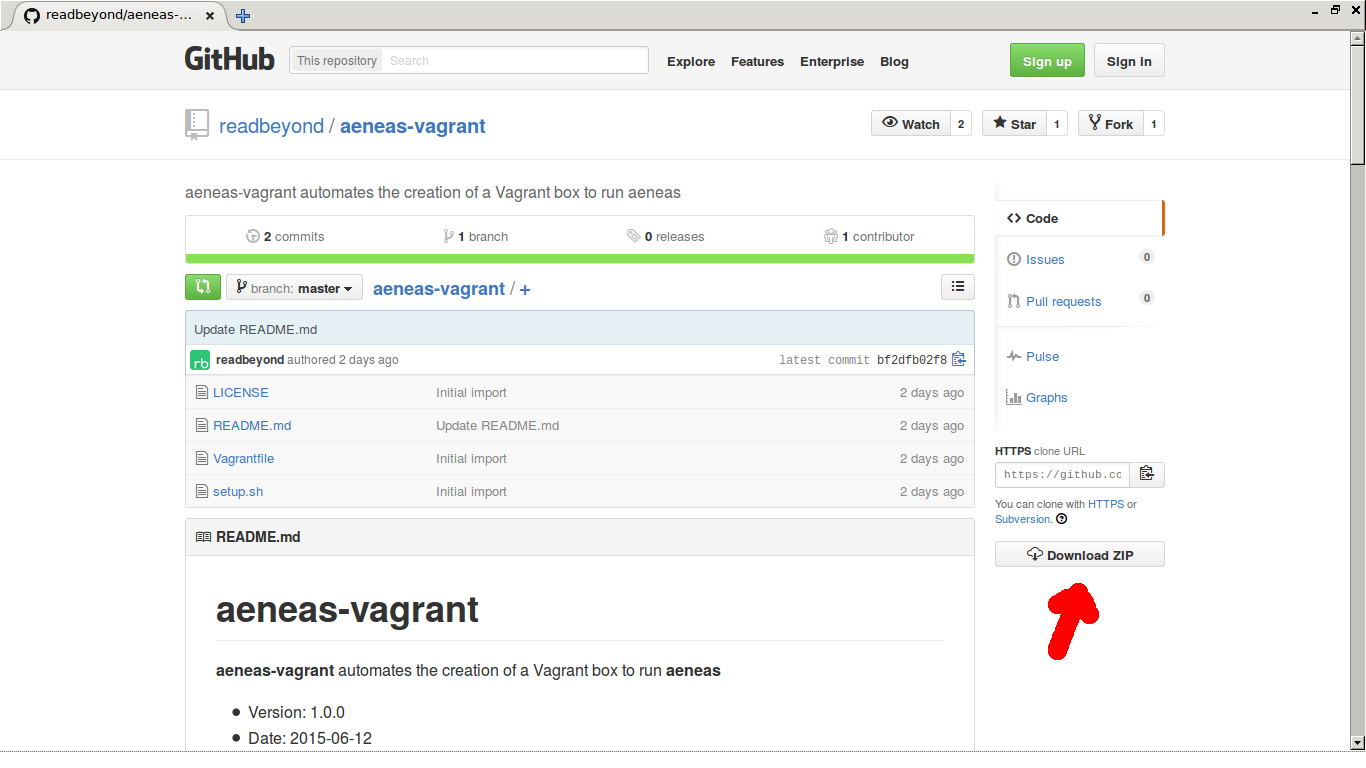
Or, if you prefer using the GUI, download the master ZIP
from the aeneas-vagrant GitHub repo:
and unzip it somewhere on your hard disk
(right click > decompress or whatever it is called now).
Step 3: initialize the Vagrant box
In what follows I assume you have Vagrantfile and setup.sh
in the ~/aeneas-vagrant directory,
but you can rename it as you like.
Open a terminal, enter that directory and ask Vagrant to run the box:
user@host:~$ cd aeneas-vagrant
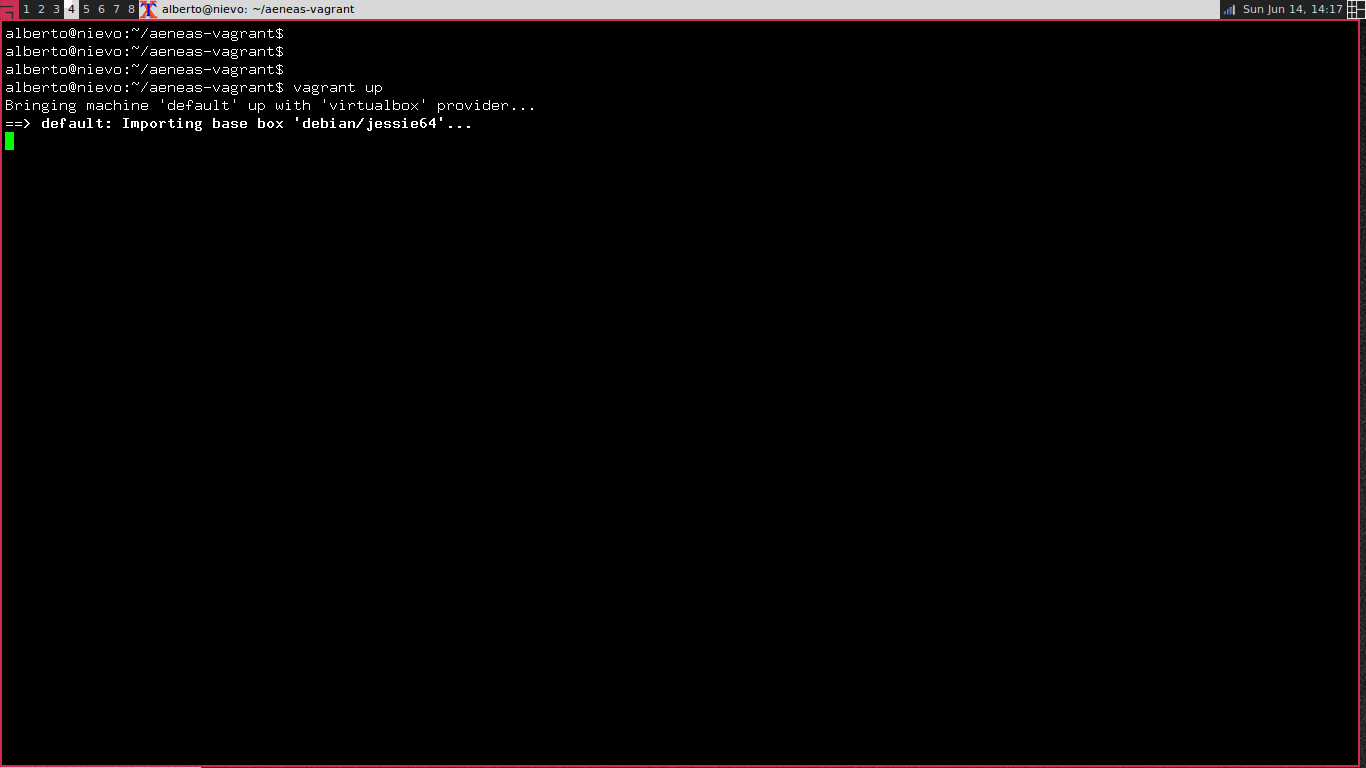
user@host:~/aeneas-vagrant$ vagrant upThe first time you run vagrant up, the box is not initialized,
so Vagrant will start downloading the base box
(a vanilla Debian image)
and it will execute setup.sh which installs aeneas and its dependencies:
Please allow 10-30 minutes (depending on your network bandwidth) for the process to complete. At the end, the following message will be printed:
[INFO] Setting vagrant box up... done
[INFO] Congratulations, now you can use aeneas!
Step 4: entering the VM
Once your Vagrant/VirtualBox VM has been installed and it is running, you can enter it:
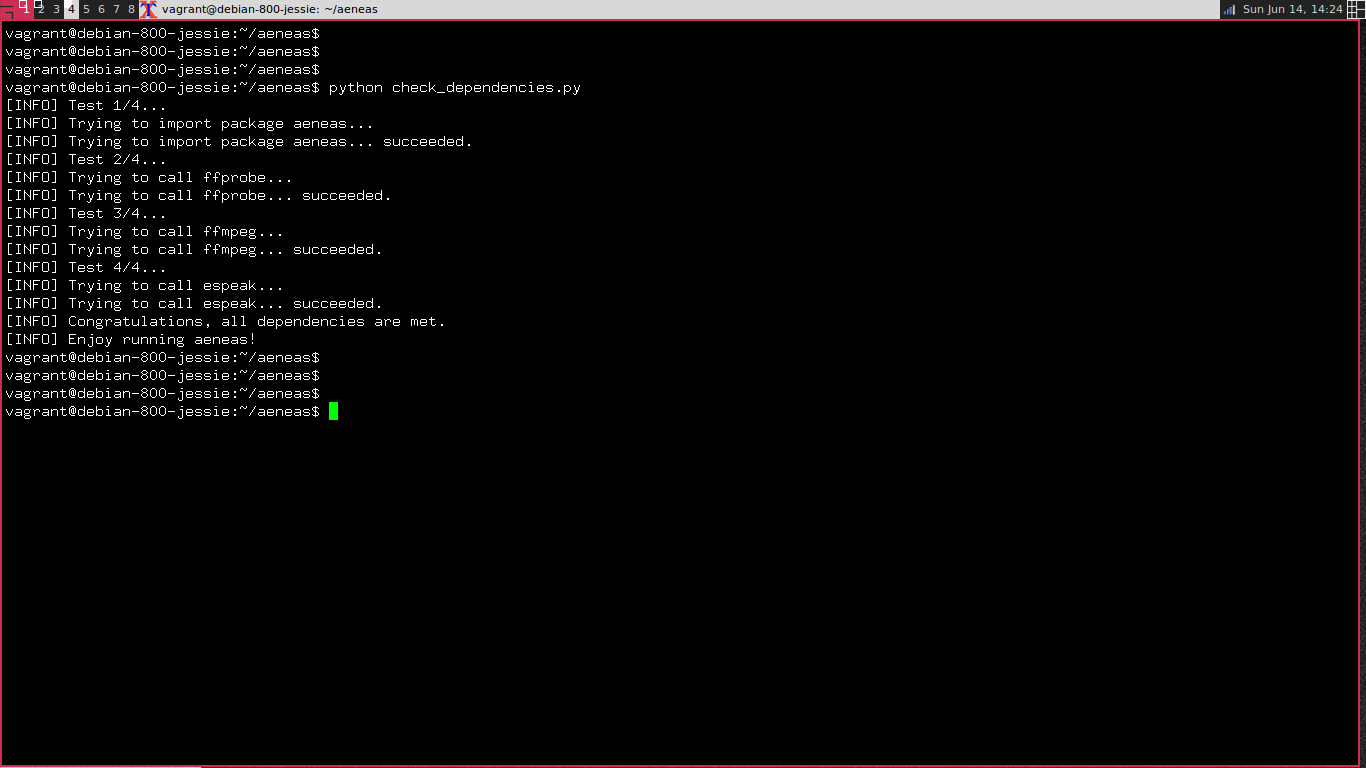
user@host:~/aeneas-vagrant$ vagrant sshIn the following screenshot you can clearly see that the Bash prompt
changes from alberto@nievo (my host machine)
to vagrant@debian-800-jessie (the guest VM).

The aeneas directory contains the code cloned from the aeneas GitHub repo;
if you want you can check that everything is fine:
vagrant@debian-800-jessie:~$ cd aeneas
vagrant@debian-800-jessie:~/aeneas$ python check_dependencies.py
which should produce:
Step 5: using aeneas inside the VM
At this point, while you are in the ~/aeneas/ directory on the VM,
you can use aeneas as explained in the documentation
or in the tutorial.
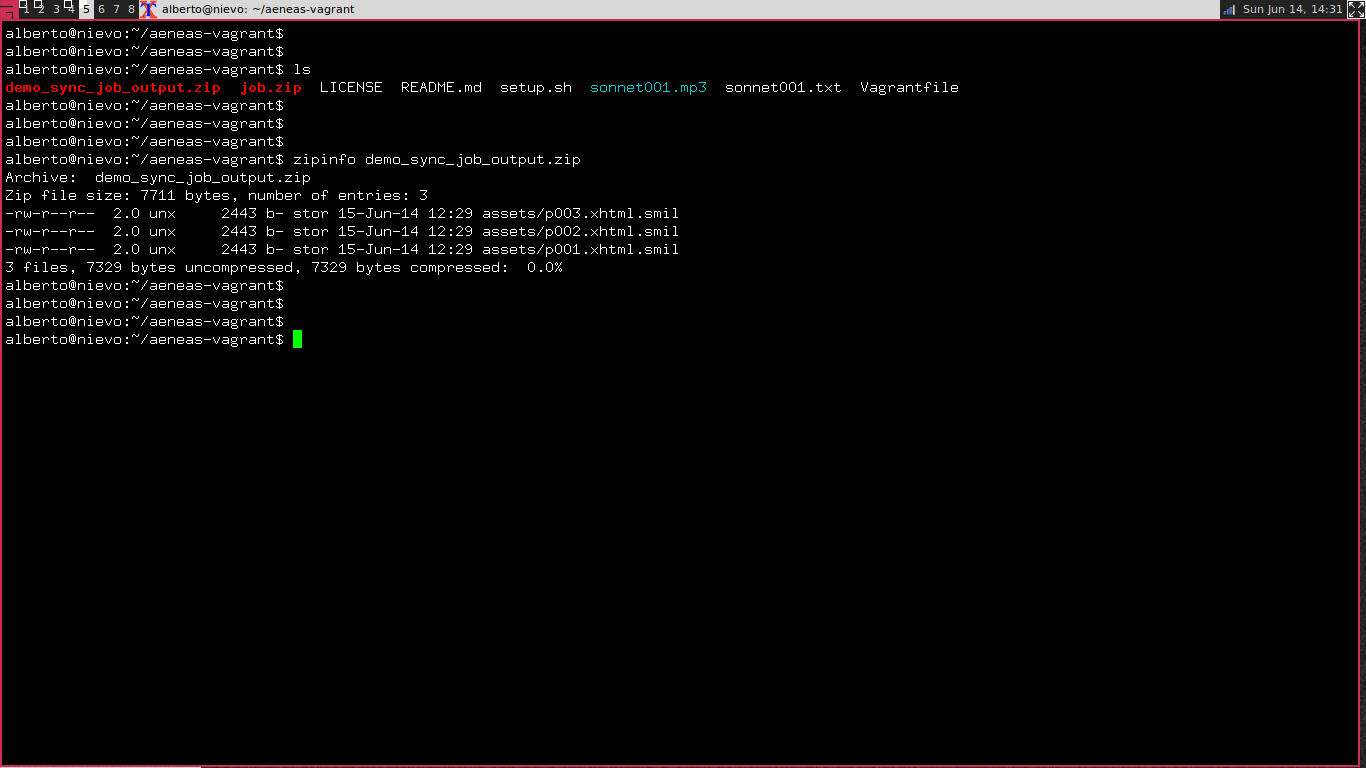
You probably want to access files existing in, and
write the sync maps produced by aeneas to, your host OS.
To do so, the directory where you have the Vagrantfile is shared
between the host OS and the VM, where it is mounted as /vagrant/.
For example, if you have a Job ZIP container ~/aeneas-vagrant/job.zip
in your host OS, it will be accessible in the VM as /vagrant/job.zip.
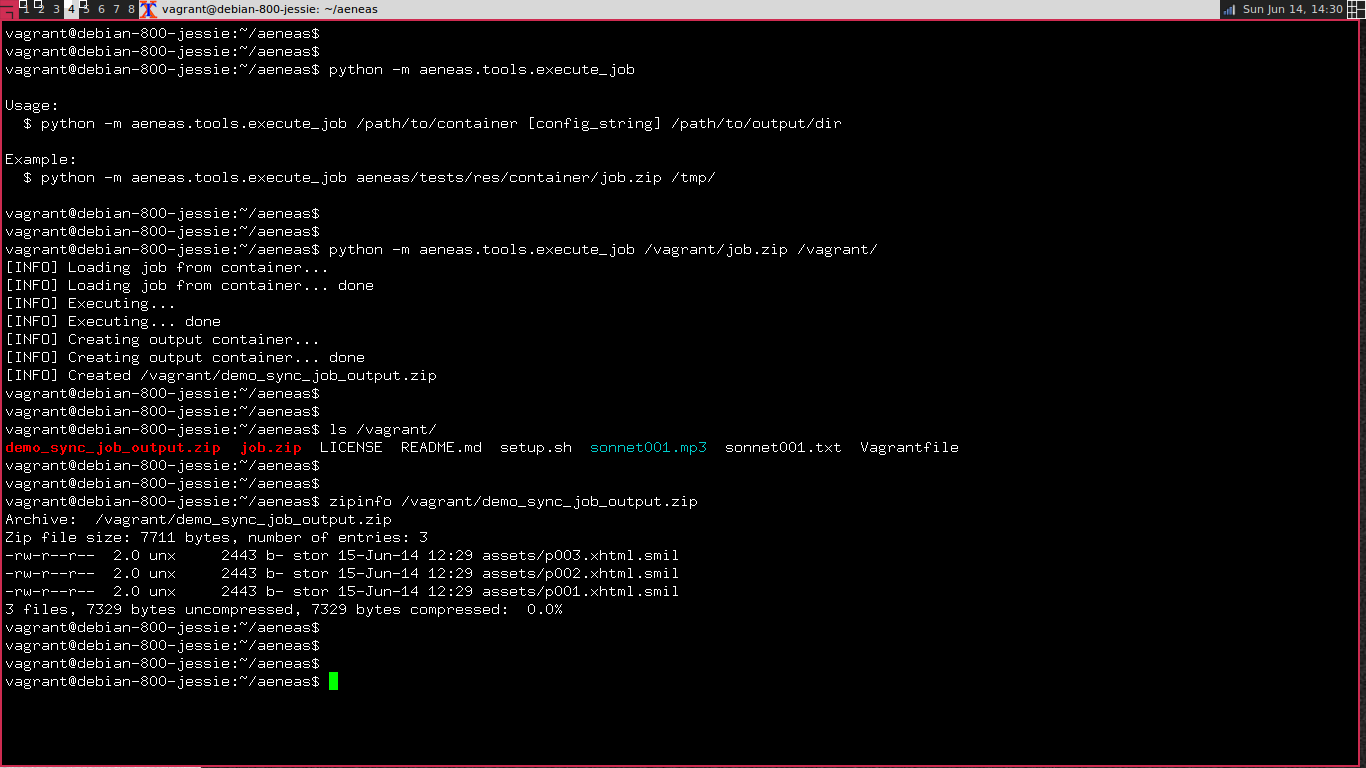
To run a job, writing its output to your host OS, you can therefore run something like:
vagrant@debian-800-jessie:~/aeneas$ python -m aeneas.tools.execute_job /vagrant/job.zip /vagrant/and you will get the demo_sync_job_output.zip file:
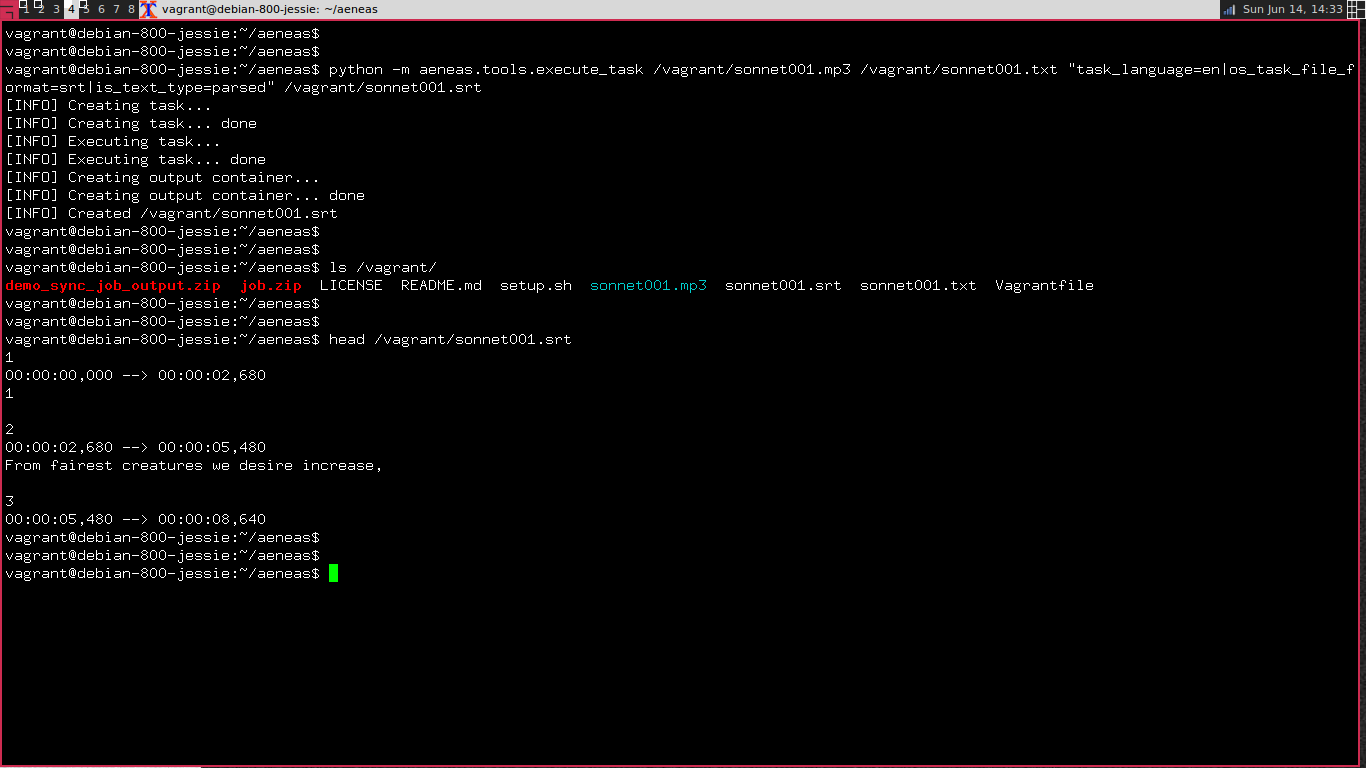
Similarly, if you want to execute a Task:
vagrant@debian-800-jessie:~/aeneas$ python -m aeneas.tools.execute_task /vagrant/sonnet001.mp3 /vagrant/sonnet001.txt "task_language=en|os_task_file_format=srt|is_text_type=parsed" /vagrant/sonnet001.srtproducing sonnet001.srt in the shared directory.
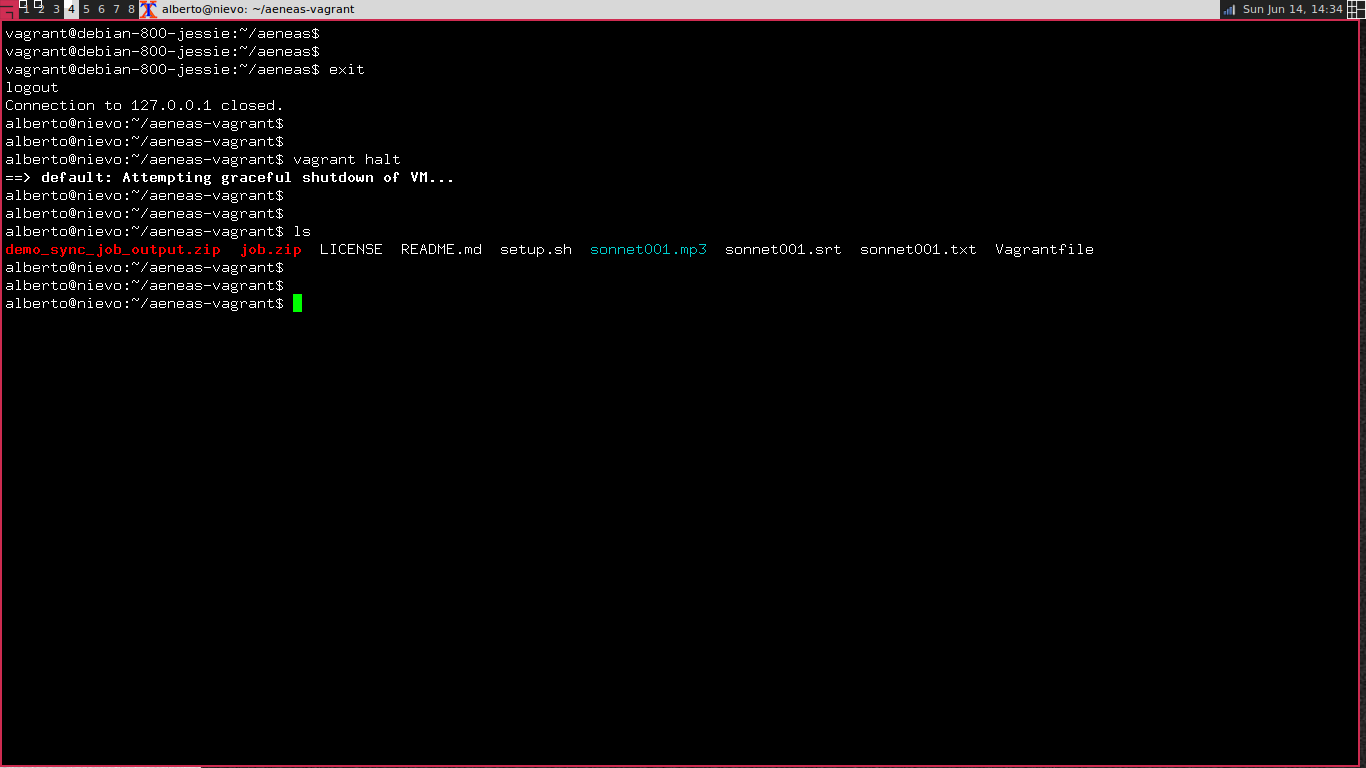
Step 6: exiting and halting the VM
Once you are done working with the VM, you should exit and halt it:
vagrant@debian-800-jessie:~/aeneas$ exit
user@host:~/aeneas-vagrant$ vagrant halt
Again, note that the Bash prompt will revert to your usual host name:
Subsequent usages
The next time you want to work with the VM, you will just need to:
user@host:~$ cd aeneas-vagrant
user@host:~/aeneas-vagrant$ vagrant up
user@host:~/aeneas-vagrant$ vagrant ssh
and proceed as above.
Note that the VM will be installed (download from Internet, setup, etc.)
only the first time; all the subsequent vagrant up commands will simply boot the VM.
Destroying the VM
If you want to destroy the VM, deleting all the associated files, you can do that with:
user@host:~/aeneas-vagrant$ vagrant destroyNote that the latter command cannot be undone, and you will need to reinstall the box from scratch (Step 3 onwards).